First, a bit of history
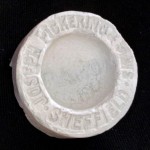 Joseph Pickering & Sons were a company that produced polishing compounds and rouges for the cutlery trade of their home city of Sheffield and beyond. John Needham Pickering, a Volunteer (predecessor of the Territorial) thought his family firm could produce something better than the traditional pipeclay for whitening the Slade Wallace buckskin equipment the Army then wore. They developed a pure white compressed block product that could, by the addition of a little water, be applied with a sponge, rag or brush. They sold it to the local Hillsborough barracks who adopted his product and their extra white webbing was admired and led to it’s adoption by the rest of the army. Prior to the turn of the century the Army had decided to do away with the whitened leather (along with the other reforms to create a less visible soldier) and decreed the leather be coloured khaki, which Pickerings supplied as “Khaki-Blanco”.
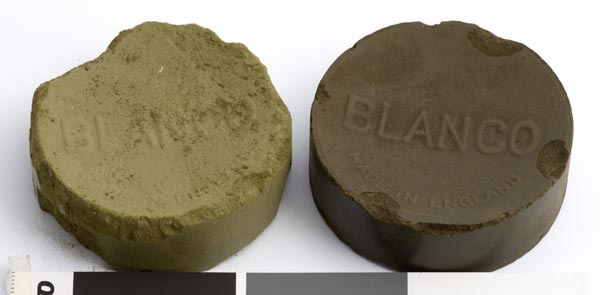 The Mills Equipment Company developed the “P08” cotton webbing equipment to replace leather equipment and this too was dyed the earthy khaki colour. However, even though the webbing was mass-dyed the army persisted with Blanco to give a smart, uniform appearance to webbing equipment as it got grubby with use and had mismatched colour from manufacture. The two colours (khaki for the fighting soldier, white for ceremonial/special purposes) were joined by a third colour – Web-Blanco – which was of a more green hue, giving a contrast between the webbing and the uniform. A fourth colour was added, Khaki Blanco shade number 61, which was a lighter buff colour. Now we fast forward to WW2 during which a fifth colour was brought into use – Khaki-green No 3 – a darker brown-green, in time for the European campaign.
 Webbing cleaners continued to be used into the 1980’s but the product type had changed in the 1950’s to a more convenient tinned paste product that didn’t require the addition of water.
More info on the history of webbing cleaners: www.blancoandbull.com/potted-history-of-web-cleaning/
Cleaning
Prior to applying your new Blanco it is important your webbing is clean and free from grease and loose colour. The simplest way to deal with this is undo all your webbing breaking it down into constituent components and throw it in the washing machine. Normal detergent is fine but you could chuck in some oxy-action product if you wish. Don’t put webbing in with your normal wash – the brasses will damage it. A hot wash is fine, webbing is pre-shrunk in manufacture. This process will be a bit noisy but not injurious to your machine. Fast spin and you are ready to apply Blanco if you like to start with dampened webbing – personally I like to work with bone dry webbing as it is easier to see your application.
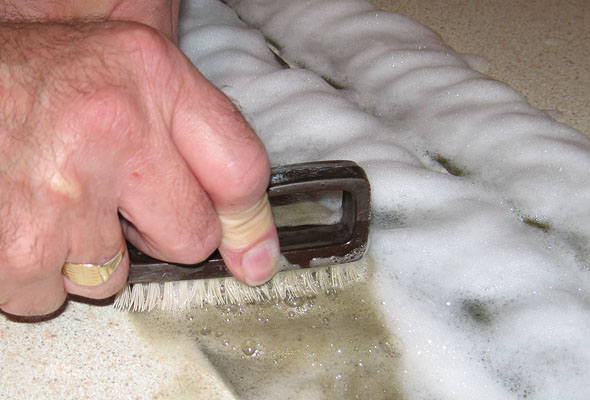
If your acquired webbing has, in a previous life, been blanco’d with paste products you might find a more hands-on method to remove all traces of previous webbing cleaners. For this you need an oxy-action or pre-wash spray and a nail brush. Soak the webbing in hot water for half an hour then spray on the cleaner and agitate with gentle and careful scrubbing please, better to repeat the process than fluff up your webbing. If you use this method your webbing will come out a scrubbed off-white as it will remove the khaki dye of manufacture. Still, this is a good base to start with and prefect as it is for the Mediterranean & desert look.
More detailed info on cleaning your webbing: www.blancoandbull.com/how-to-remove-blanco-from-webbing/
Products & colours
You can still get hold of original Blanco if you hunt around but as it becomes scarcer the price has risen dramatically. The round blocks in plain brown paper are post-war made but the same product as wartime. Don’t bother with the waxy rectangular soap-bar-shaped ‘blanco’ you sometimes find – this was an experimental product sent out for trials and then abandoned – the colour isn’t quite right and application isn’t a great experience. Post-war tins of Pickerings/Quippy/Fleet are of different shades to the WW2 products and these are also rocketing in price.
My suggestion is NOT to use original products – if you have any then keep them as a nest egg. There are suitable alternative available now that look just fine.
And so to colours. KG3 was used comprehensively for much of the war so this would be your default option. For early war then either the khaki No. 103, by now described as Khaki Green (Light), or the light green No. 97, described as Khaki Green (Medium) – either would be correct.
For Khaki Green No. 103
Buy a Shoot and Scoot bottle www.shootnscoot.co.uk
Make your own using the ‘shoe cream method’ No.103 – The shoe cream method
Buy a Soldier of Fortune bottle www.sofmilitary.co.uk
For Khaki Green No. 97
Buy a reproduction block Repro No. 97
Buy a Soldier of Fortune bottle www.sofmilitary.co.uk
Make your own using the ‘shoe cream method’ No.97 – The shoe cream method
For Khaki Green No. 3
Buy a Shoot and Scoot bottle www.shootnscoot.co.uk
Buy a Soldier of Fortune bottle www.sofmilitary.co.uk
Make your own using the ‘shoe cream method’ KG3 – The shoe cream method
For each colour I have highlighted my personal recommendations in bold.
Application
While you wouldn’t want to apply Blanco on your white living room carpet there is no need to go making a mess either. If you are covering the room with green muck then you are doing it wrong! Even so, it makes sense to do it on the patio table or at the very least cover your dining room table with newspaper.
If you are using proper ‘dry & crumbly’ Blanco then break some up into a very small container such as a ramekin. Add sufficient water to make a thin slurry, the consistency of milk, say.

Using a small, well used paintbrush – trimming the bristles to make it stubby is a good idea as you will not be so much painting the Blanco on as working it in. Don’t bother with a toothbrush – it will take ages to do a small or large pack and the finish is likely to be uneven.

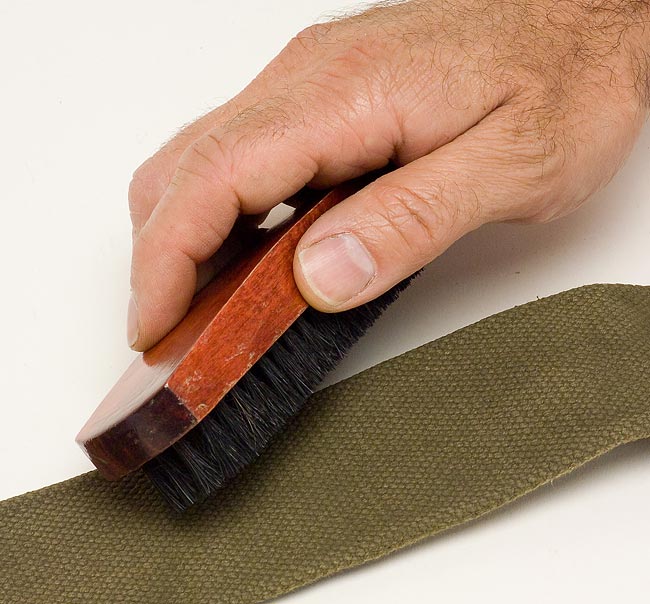
Allow the Blanco to dry off somewhat and give it another going over. Let the whole ensemble dry off thoroughly, then brush lightly with a clean shoe brush to remove the excess – do this outdoors as clouds of green will go everywhere! Keep the blanco in the ramekin – just let it dry out. Next time just add water to the contents to reconstitute.
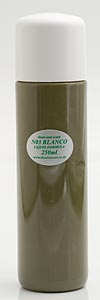 If you are using the Shoot and Scoot product then dilute it 1:1 with water. Using your stubby brush quickly, thinly and thoroughly work the colour into the weave. Don’t attempt to get a thickness of paint – this first coat must soak into the webbing fibres. Allow to dry (it dries much more rapidly than proper Blanco) and apply a thorough second coat. Allow to dry, reassemble webbing and you are done.

