Cheers. 
I know they can be a real pain to do.
Yeah tell me about it! I was originally going to do a full basket but after stabbing myself for the 15th time I thought sod this and went for half instead. 
Really?? I found forming the baling wire to the helmet was the hardest part of the whole thing. I almost went for a full basket on my FJ lid because I was getting so frustrated with making the half-frame ![]()
I did my FJ lid first so worked out the technique for doing the bailing wire before starting on the other. The mesh I pulled out of a ditch so was all mandled and took a long time to flatten out and then shape around the helmet. It was rusted through in places and would just not hold onto the rim of the helmet so decided to switch to a half as it was easier to wrap it around the bailing wire and then attach that to the helmet.
here's a few of mine,done them myself bar one

___________________________ __________________________


___________________________ __________________________


looking good troop 


Blimey, the baling wire on the last one looks like it could hold up the Brooklyn Bridge...
I especially like the DAK one too.
Good stuff 
Great looking helmets there 


Any ideas where you got the goggles from?
Is there anywhere doing repro AK goggles?
Thanks
The goggles are off the ebay,they come up reguler for around £20 £30

___________________________ __________________________


The goggles are off the ebay,they come up reguler for around £20 £30
Originals or repros?
I was led to believe that the original Zeiss-Umbral ones are very expensive when they turn up?
Any ideas where you got the goggles from?
Is there anywhere doing repro AK goggles?
Thanks
seen these on ebay,Original German DAK tinted goggles
Item number 160313825117
Mine are a originals

___________________________ __________________________


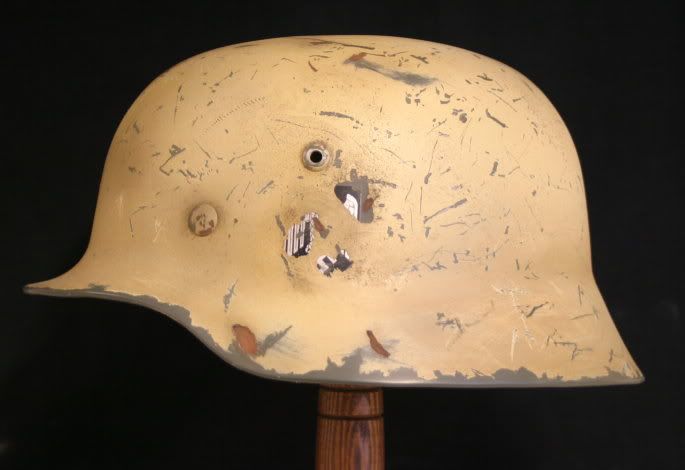
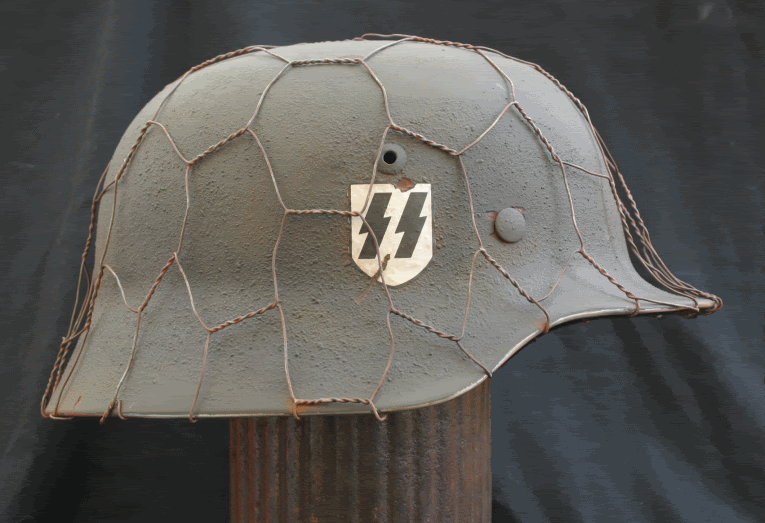
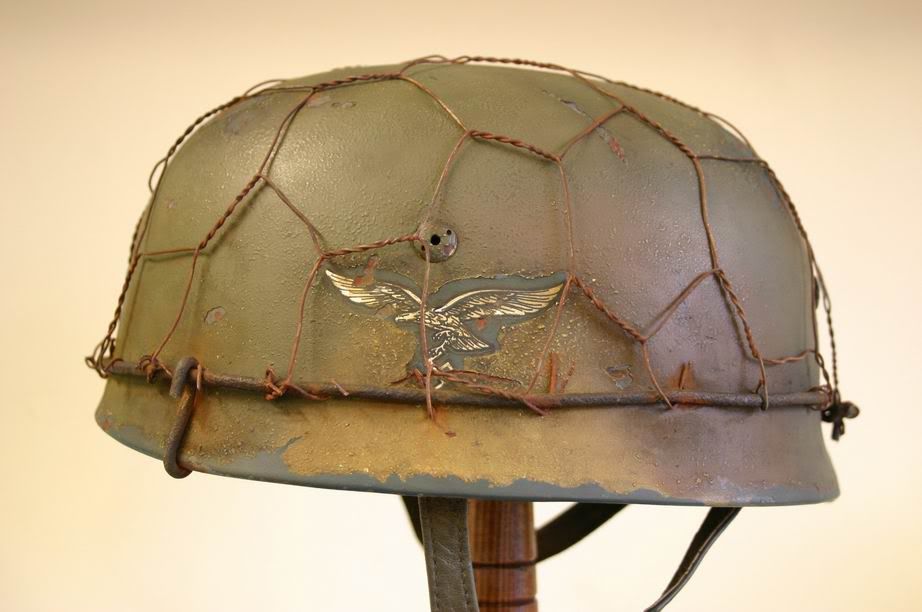
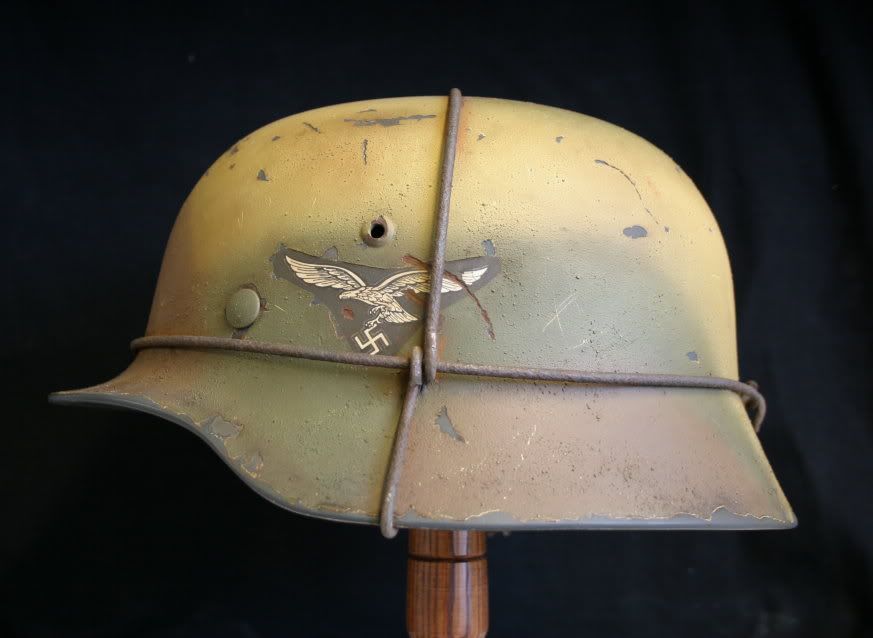
A good tip if your going to be painting your helmet and adding either a half or full wire basket at the end is sort out the basket first. Bending the wire can be a real pain and really damage paint work especially if its a bit fresh. I've no patience so almost end up sticking the basket on before the paint is dry. A couple of mine:



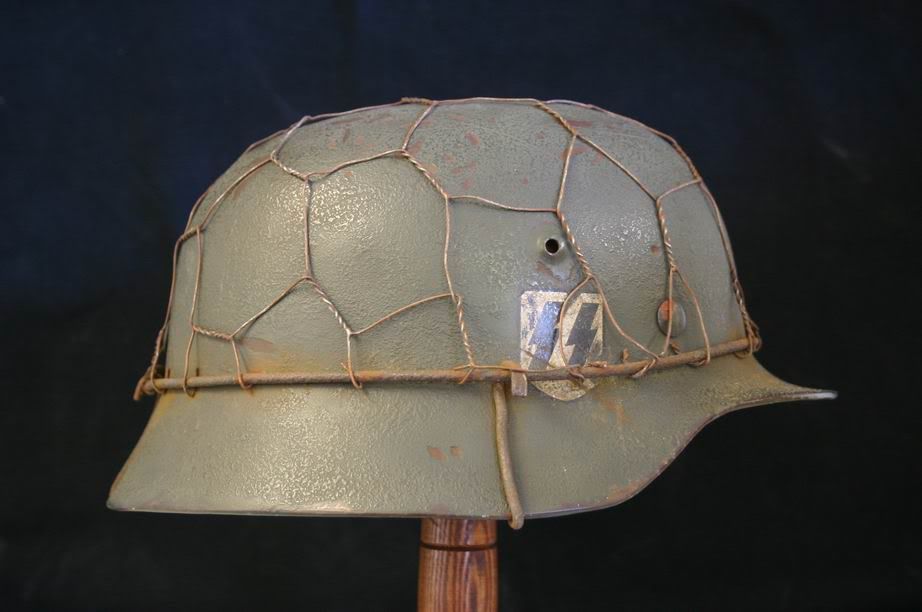

If it was repainted in the field, they used everything from crushed up mortar, sand, wood shavings (old FJR6 trick) hell, even just plain old dirt. Anything that would give some texture. If it was factory produced, then fine grade ally oxide was added to the paint.


When we were a Kingdom it was run by a King
When we were an Empire it was run by an Empress
Now we're a country we're run by a..........
Nice Papaver in the background, mine's not flowered yet ![]()


Looks great mate 
I got a good texture by grinding two bits of old brick mortar over the wet painted shell before giving it a second coat. Brick mortar gives bigger chunks than sand.
I've done a WWI stormtrooper camo finish on my repro M1917. Just the job for my Volkssturmann loadout.

wow nice paintjob 
fanks.
Early 20th Century camo designers certainly had some funny ideas. I especially like the Dazzle camouflage schemes - where you hid a warship on the open sea by making it look like a mint humbug
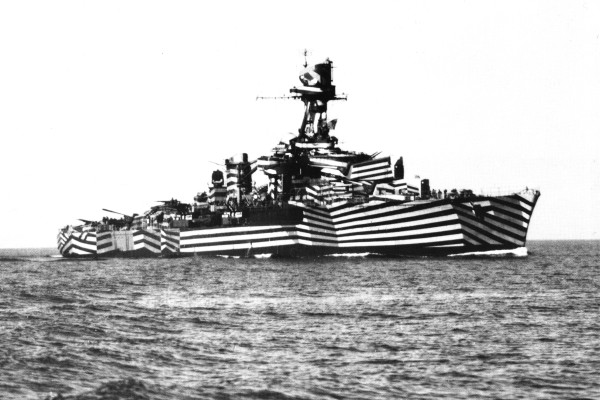
I think it makes it more difficult to tell what bits are what rather than to actually hide it.
and what direction it's travelling

