


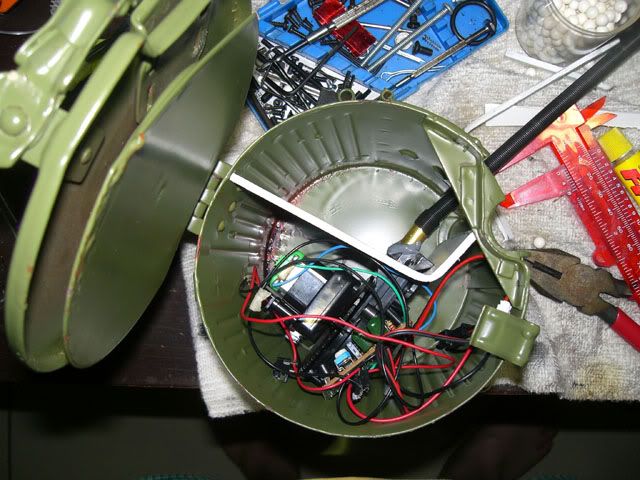
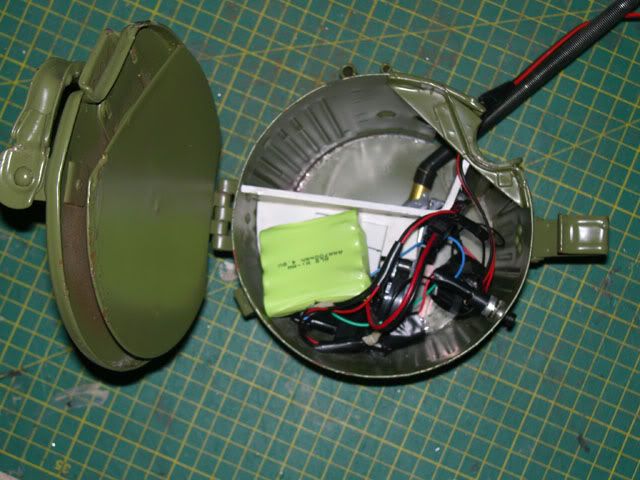
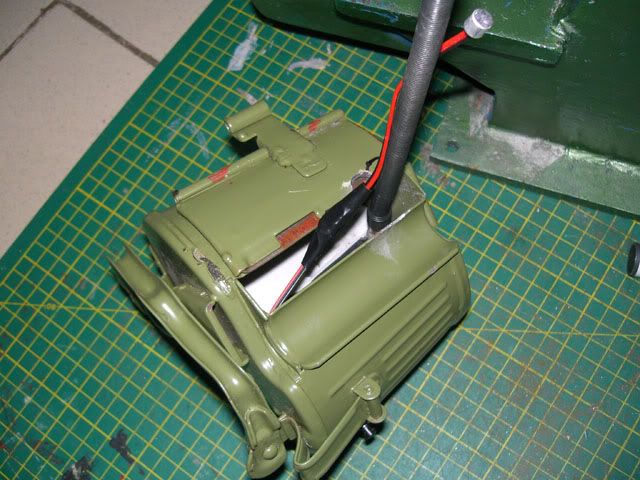
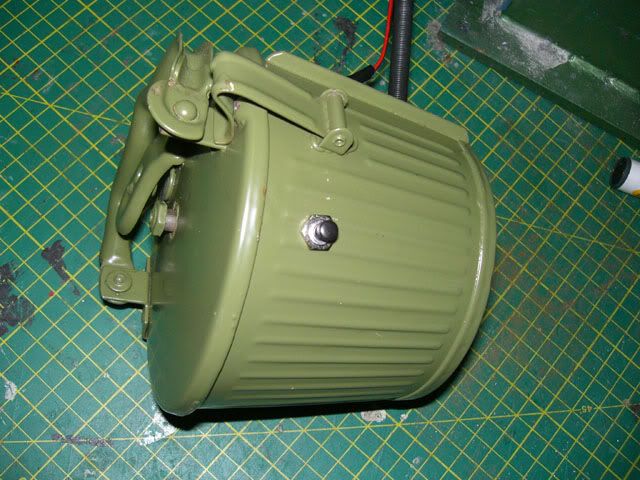
Did some work on the Drum magazine. Based it on pictures from Sgt.Heide's build.
It has M4 C-mag internals. Sound activation as well as a custom switch winding.

excellent effort - 
More progress:
Grip frame came in today. It's made up of layered laser cut mild steel sheets (2x10mm + 2x1mm). The grip is made out of layered 3mm sintra board. Overall, the grip frame plus grips is larger than real steel to accomodate the motor and part of the gearbox. It's a good thing i have big hands...It has yet to be properly secured to the receiver. BTW...Do you guys think the steel frame surrounding the magnetic motor might cause problems?
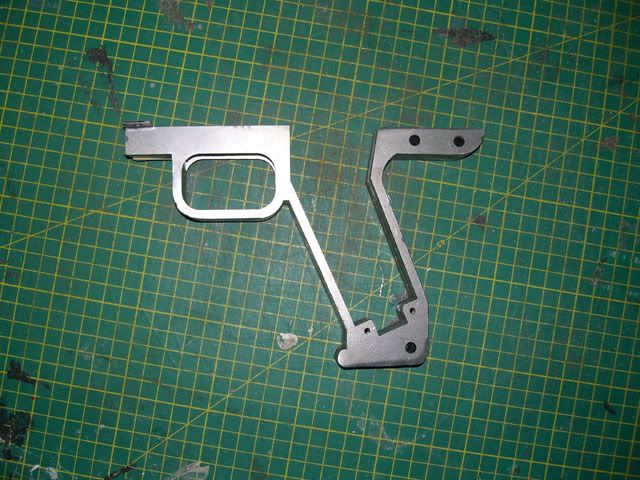
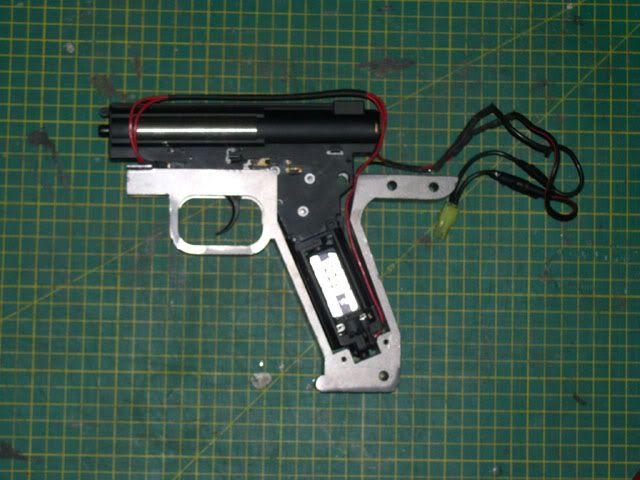
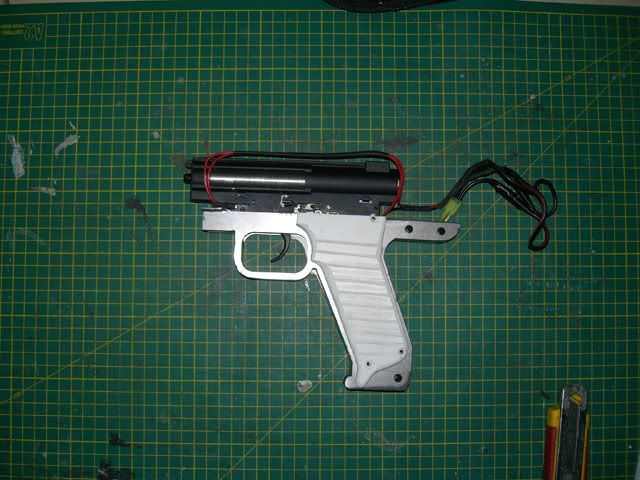
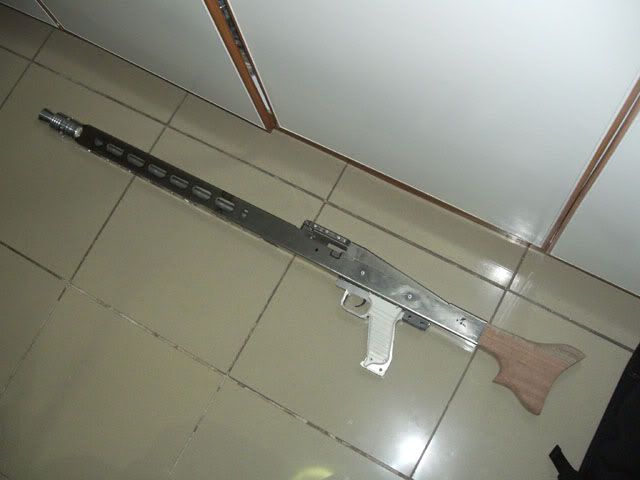
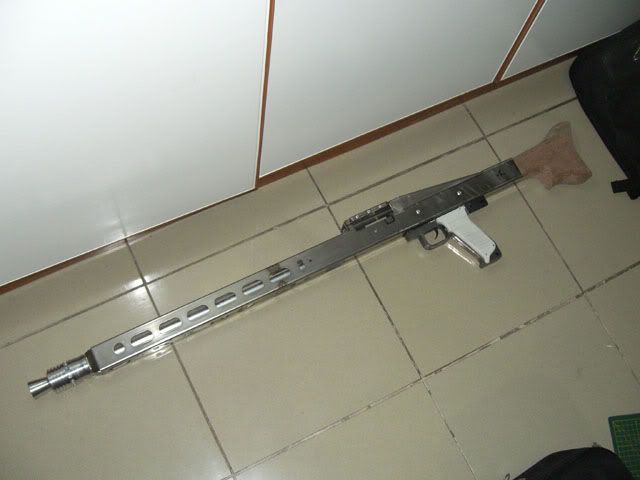

BTW...Do you guys think the steel frame surrounding the magnetic motor might cause problems?
From a physics point of view? Not any significant affect on it's opperation at all really...
From an electrical point of view; Just make sure your terminal connections are well insulated 
A Proud Member Of 'Team Spleen!' who play mainly at Gunman Airsoft, Tuddenham, Suffolk.


Looking great mate, just a quick question where did you get the handguard actually made? Was it a local business or a website based one? Also I used a very high grade of aluminum for my 30 cal which was nearish the same grade as used in aircraft! You should have no problems. I watch your thread with intrest
[ Post made via Mobile Device ] 


Thanks! The frame was CNC cut from mild steel then welded together by a local metalworks (same guys who did my PPSH). They based it off drawings i made. I wish we had more CNC milling machines here but they are still rare and extremely expensive. I would have have this made in aluminum if it were available.
Some updates:
Changed my mind about the hop up. I've decided to used an unaltered AK hop chamber instead of the 45 degree feeding one that i made. This way, i can insert the feed tube through the bottom, which is better cosmetically (i would have to cut a window out of the side of the receiver for the 45 degree hop).
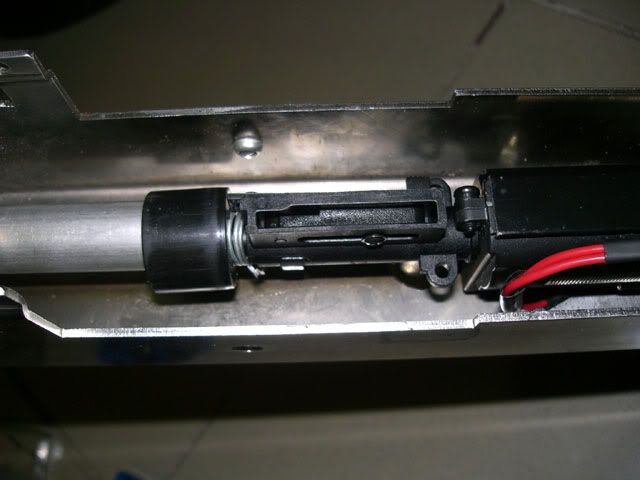
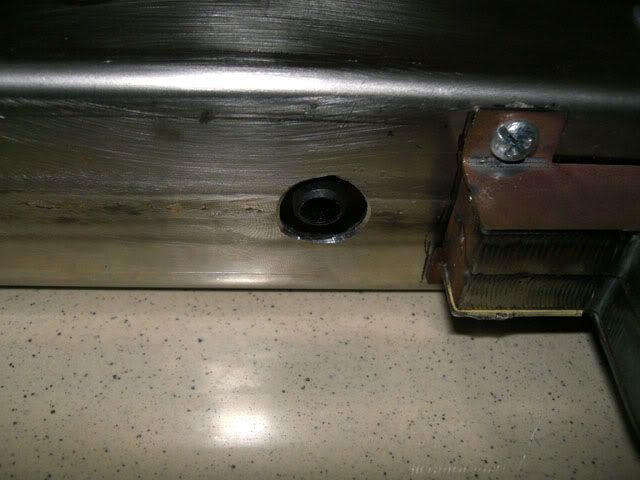
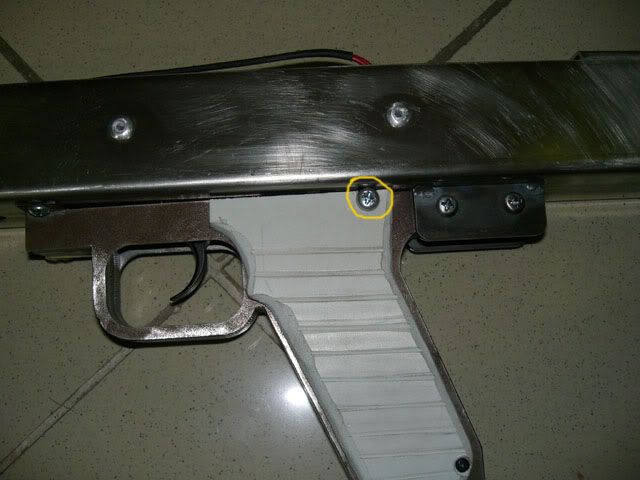
I've also secured the internals into the receiver. The gearbox is a tight fit in the grip stick and is anchored to the receiver via a screw, acting as a pin. This same screw also helps to secure the plastic grips to the frame. I've also lined the steel gripstick with electrical tape and i've wraped the motor contact points with electrical tape as well. I don't want to electricute myself.
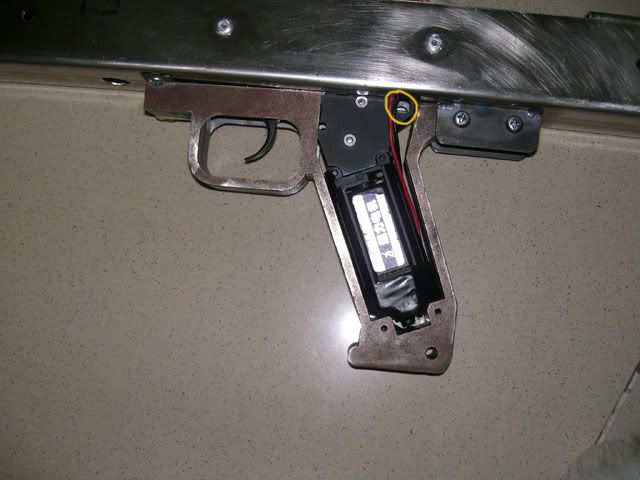
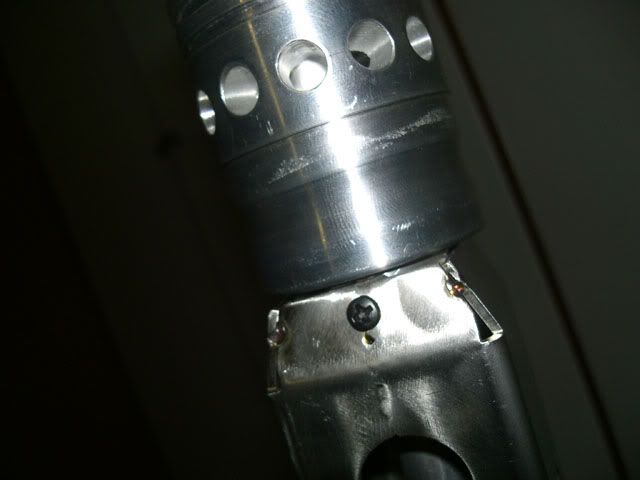
The inner barrel (madbull 650mm) is secured within the outer barrel via electric tape spacers. The inner barrel is a snug fit inside the booster cone, which is held in place by a set screw. A spring pushes the hop up and innerbarrel securely against the gearbox.
Test fired it today: It's ALIIIIVE!
Drum fed well enough, sound activation and switch activation worked well. No jams or misfeeds as of first testing. It's LOUD too. 
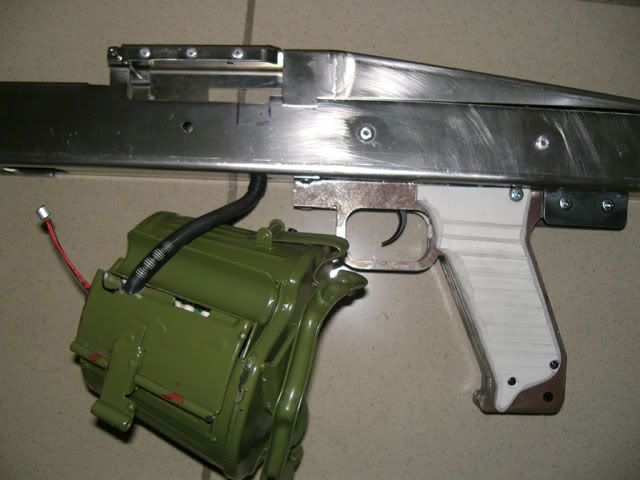
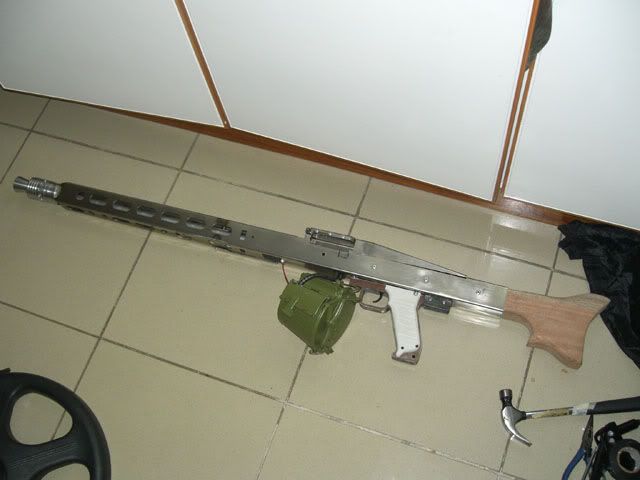
Still waiting for:
Real steel front and rear iron sights
Real steel feed tray (to mount the drum mag)
Real steel bipod
other cosmetic parts...
Thanks! Yup, i had to buy the plans, but they are very cheap. They're listed under replica firearms in the site. Though a had to make a lot of modifications.
Update: I got the charging handle and iron sights from the post office. I ordered these from BRP gun corp st a very good price. The charging handle is welded in place so it's just for looks. Rear sight is adjustable as is the front sight.
Externals almost complete. I'm still waiting for the bipod and the all-important feed tray to mount the drum mag. I'm also waiting for some cosmetic parts to be made in PVC by commission.
Here it is so far...
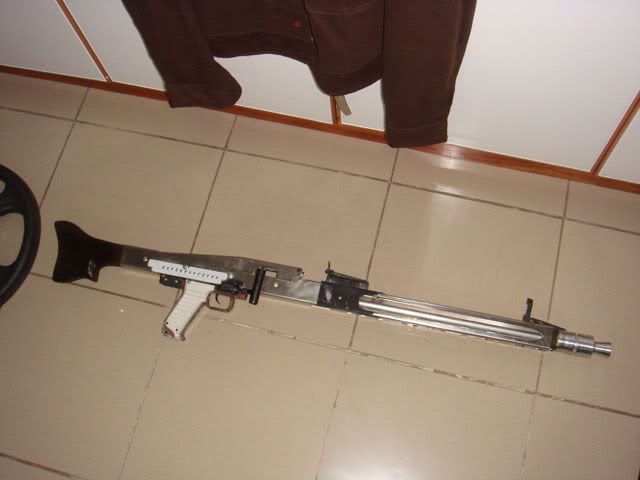
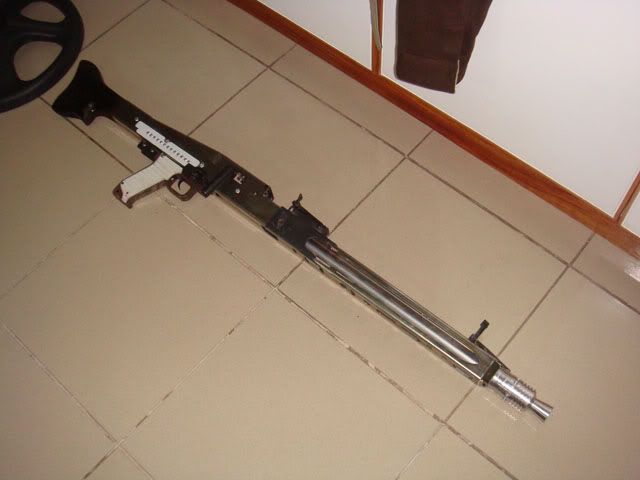
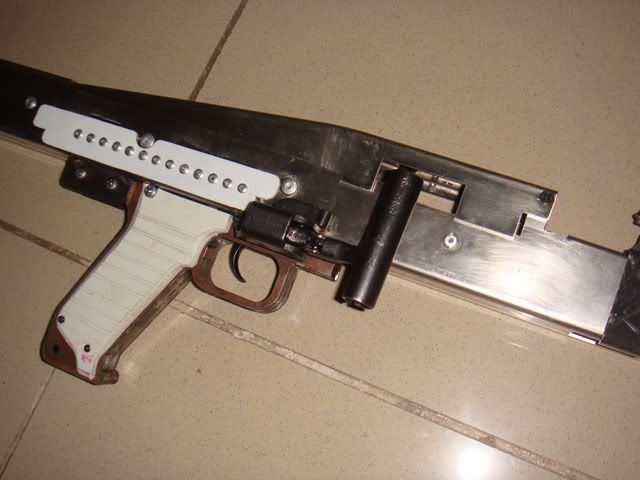
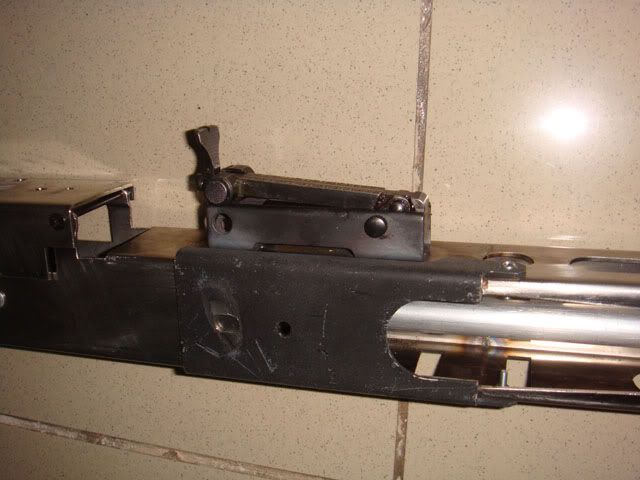
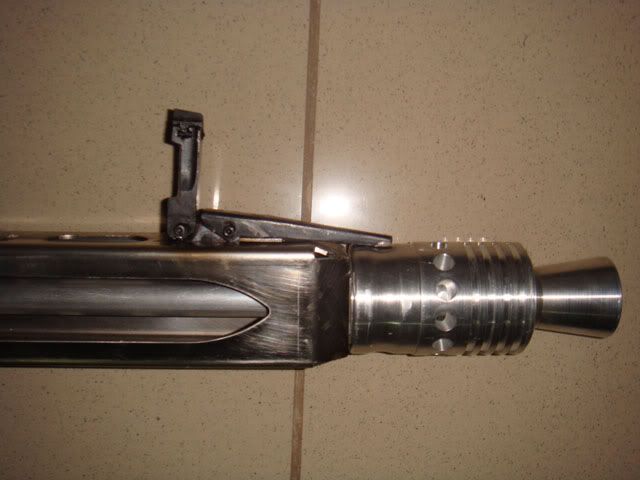

Nice job

Free speech is expensive these days!


Almost done...
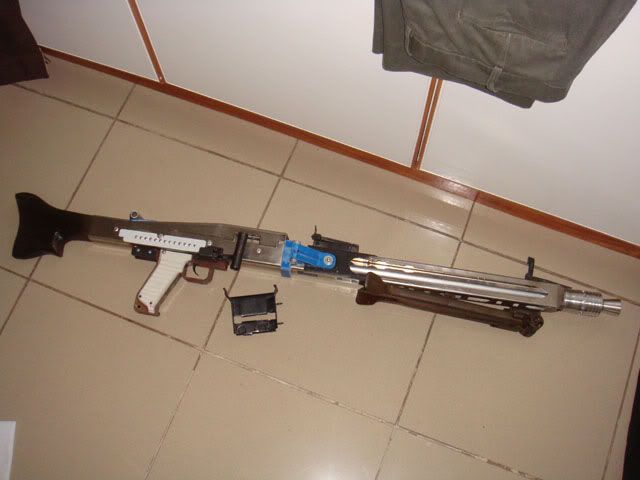
Made some of the externals using flattened PVC. The top cover latch is spring loaded and works great. The barrel door is only cosmetic and is essentially fixed in place.
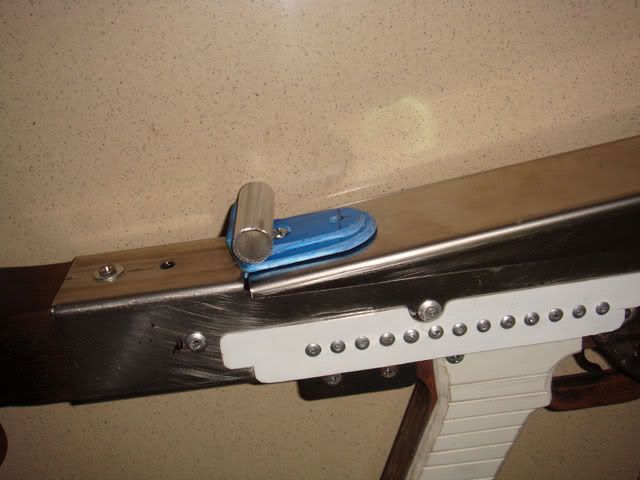
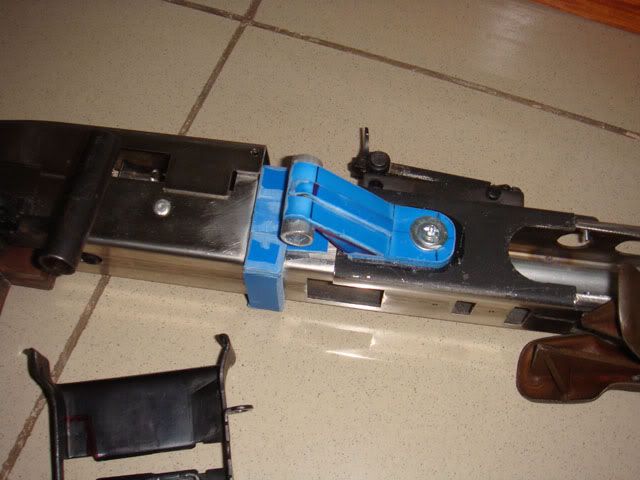
I just need to figure out a way to attach the bipod (probably will involve welding) and i need to cut the feed tray (or the reciever) to fit.
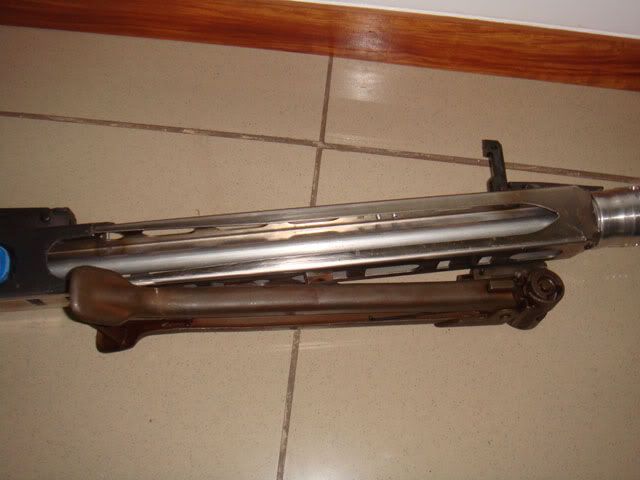

This just keeps getting better! How much did they charge to get the steel parts cut initially?
I've paid around USD250 for the metal work so far. I wish i had the skill, space and tools to do this at home on my own.
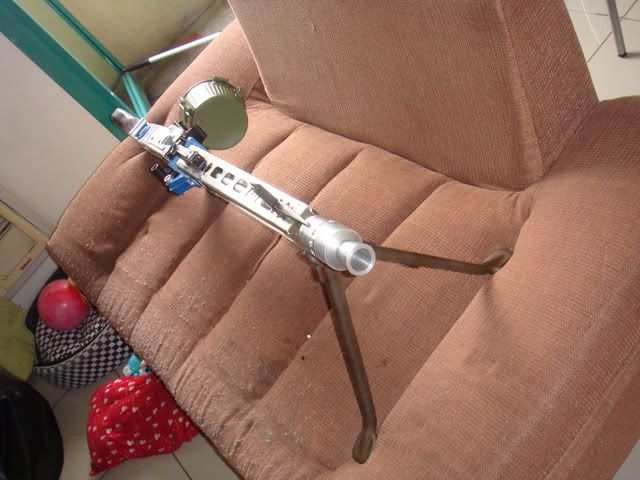
Here it is so far. Bipod and feed tray attached, Drum mag mounted. Weighs in at around 17.5lbs or 7Kg without bbs. It's HEAVY.
Still has some problems though: 1) welder accidentally welded the pivot of the bipod so it can't turn horizontally (bummer) 2) The feed tube spring accidentally got caught between the top cover and receiver, giving it a nasty kink, causing my drum to misfeed horribly unless i hold the spring in a certain way. Also, because of the long feed tube, the drum has to be constantly wind to keep up with the ROF.
Does anyone know how to rewire the drum mag so that when i pull the trigger it auto matically winds the drum?
Anyway, here it is so far, awaiting final touches and paintjob.
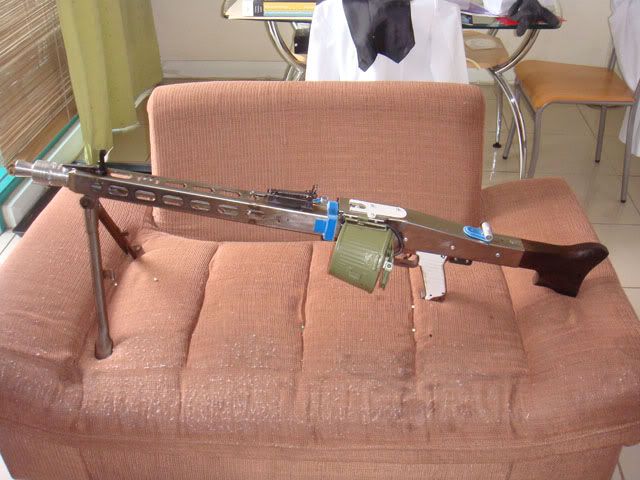
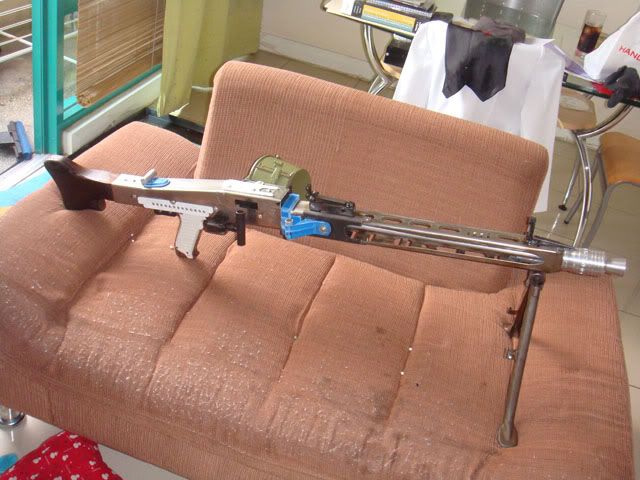
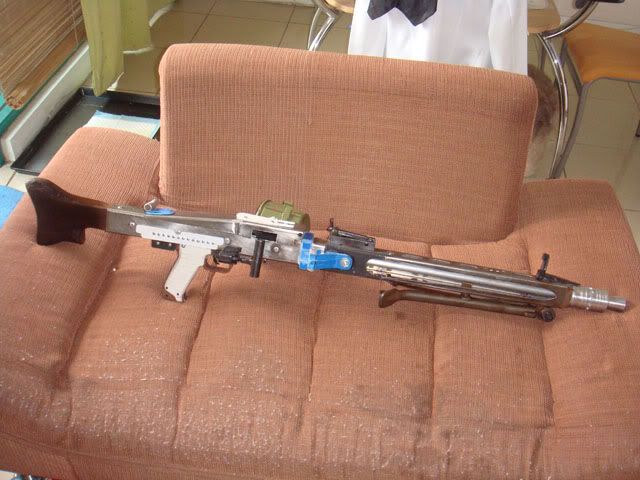
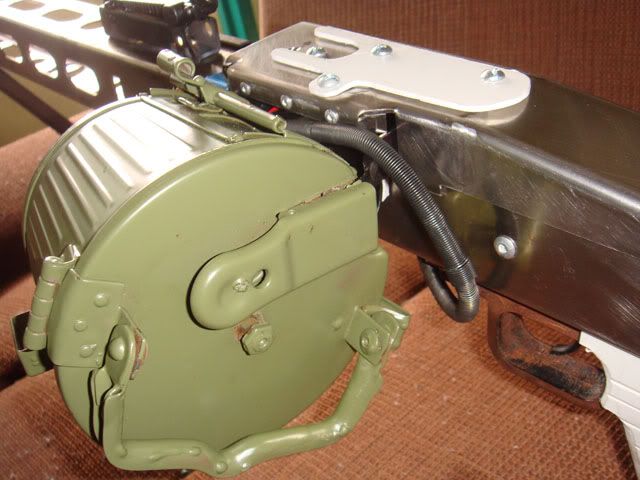
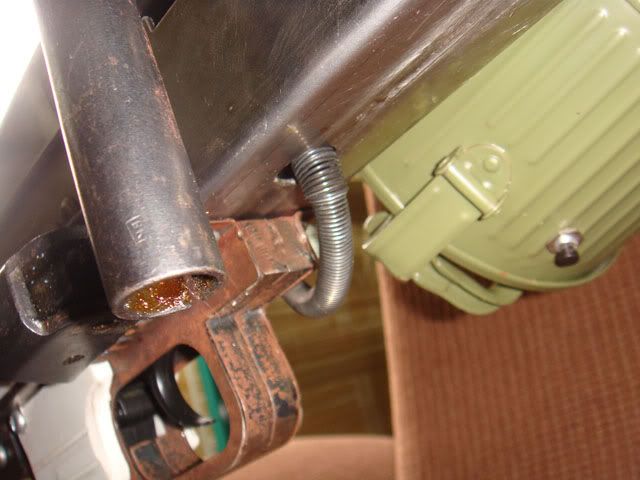
Does anyone know how to rewire the drum mag so that when i pull the trigger it auto matically winds the drum?
The Star M249 I had did this with a second switch that was actuated when the trigger was pulled. Seemed to work okay.
Instead of two switches you could use a single double pole switch.
Check out this idea. It automatically winds when the tension is released by firing, though there may not be enough room in the mag for it:
http://www.stealthstudios.co.uk/catman/50cal/m2_36.php

Starting to take shape nicely mate. Seeing the drum mag attached along with the bipod is great.
I just hope you can get a nice finish to stick on that stainless steel. If not maybe worth getting it professionally finished by a gunsmith or someone who can do steel finishing.
How were the original RS MG42s finished?
AGM MP40 - AGM STG44 - CYMA Thompson M1A1 - WE P08 4 inch - Marushin M1 Carbine GBB - AGM Sten MkII
Does anyone know how to rewire the drum mag so that when i pull the trigger it auto matically winds the drum?
The Star M249 I had did this with a second switch that was actuated when the trigger was pulled. Seemed to work okay.
Instead of two switches you could use a single double pole switch.
This is something that i have had a little play with my 30 cal which uses a version 8 gearbox and this guide i found on google:
Thanks to my good buddy Eric the hop up feeds fantastic. The problem I had recently was feeding while the box mag was on sound control. Eric tore into it to find that the wires had come off the tiny mic. He found it difficult to solder the micro wires the the micro mic. There must be a better way......... There is a-grin.gif . He ran the wiring for the mic out the feed connector to a deans plug. It mates to another deans at the ammo belt location. From there it goes to the trigger switch. Resulting....... every time the trigger is pulled, the mag feeds. Flawlessly. the mag still runs off two AA batteries, the trigger is just acting as an on/off switch. Why they just don't do something similar at the factory? Who knows... they should!
Some photos to help possibly?
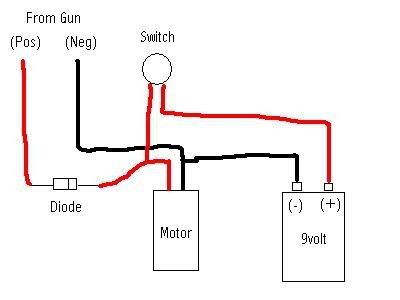
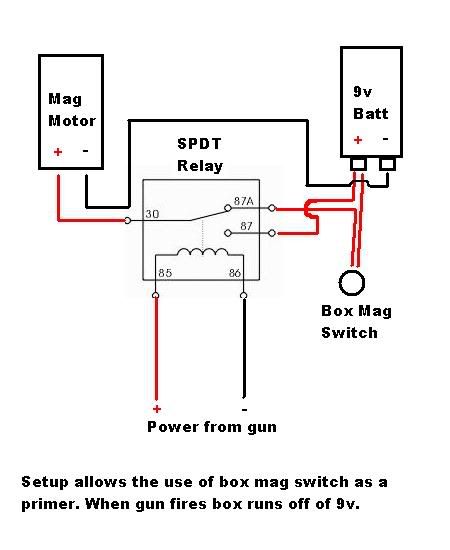
Thanks! When you connect it to the trigger switch this way, does the battery from the gun (which is also connected to the trigger) contribute anything?
It's done!
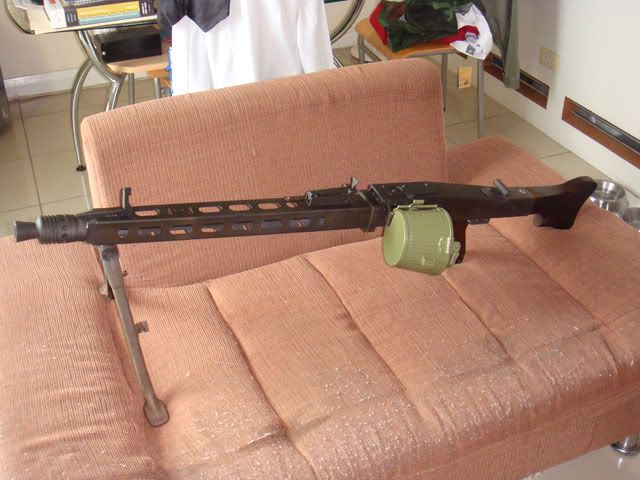
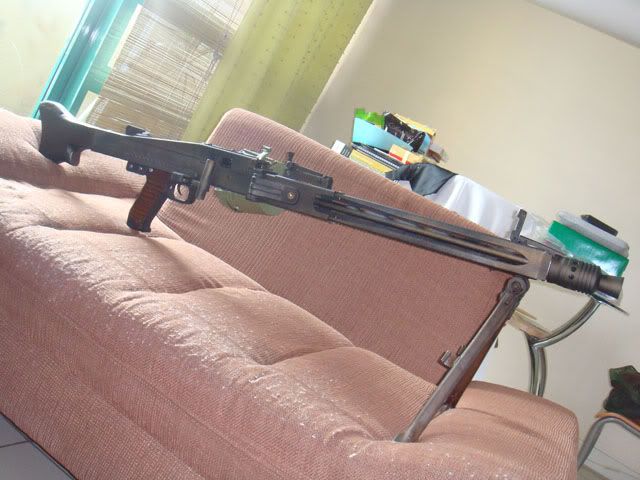
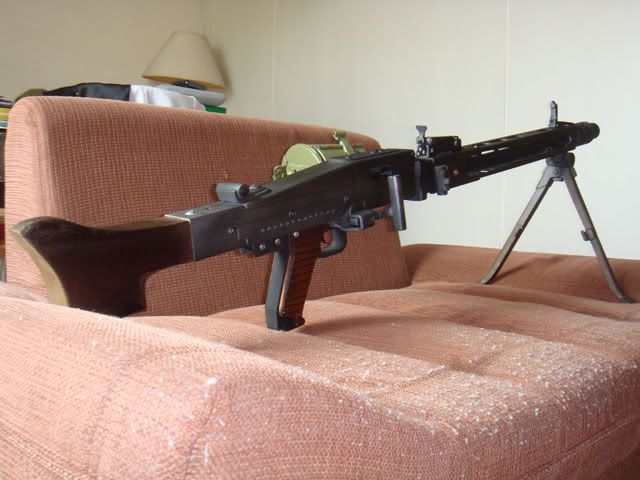
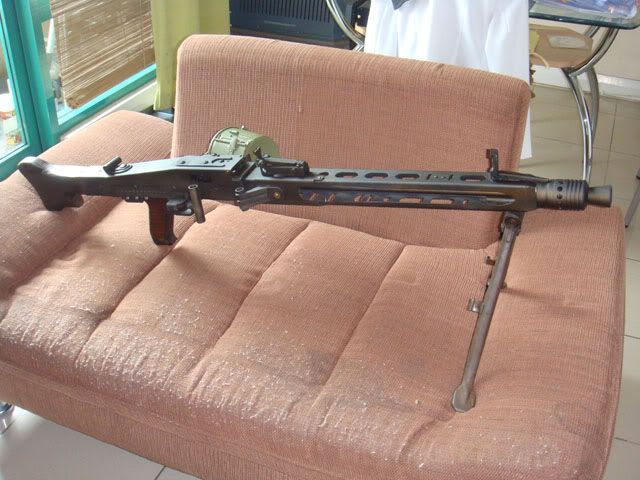
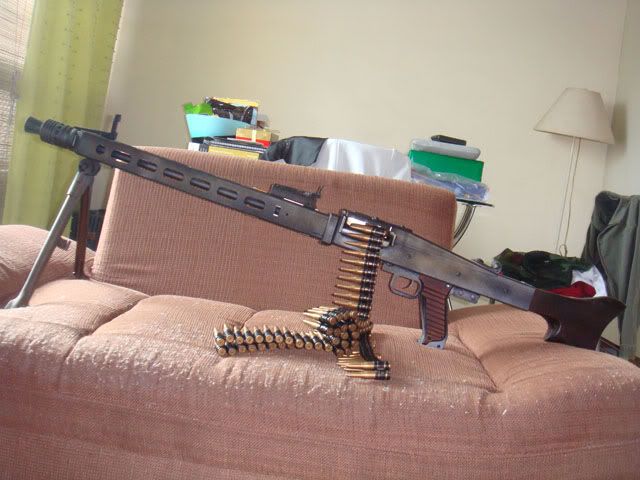
To summarize.....
*This was based on greatly modified MG42 plans from john-tom.com
*Receiver, barrel shroud and top cover fabricated out of 2mm rolled sheet steel
*Grip stick was fabricated out of layered laser-cut 10mm and 1mm sheet steel. It is also larger than realsteel to accommodate the motor
*Stock is wood, grip panels are layered sintra board
*some external details (top cover latch, barrel door handle, trunion, charging handle rail) were made out of PVC
* Real steel parts: Bipod, charging handle, iron sights, drum mag
*Internals:
Version 3 Gearbox
Stock JG gearset
PDI210 spring
TU Spring guide w/bearings
7mm steel bushings
JG Blue Motor
Stock nozzle
Type0 (closed) cylinder
Madbull 650mm 6.03id barrel
Stock AK hop
*Drum mag internals: M4 C mag, Sound and pressure switch activated
* FPS: 480 with 0.2g bbs
* It's HEAVY: 17.5lbs or around 7kg with bbs
Some things i would have done differently....
1) Use a Version 6 (P90/Thompson) gearbox and P90 hop chamber instead : Motor angle is closer to RS and P90 hop is top loading
2) Have the receiver powder coated before gluing/riveting the plastic parts.
